How to Dry Hibiscus Flowers for Tea
Hibiscus tea, a delicious and refreshing beverage, has gained popularity for its numerous health benefits and vibrant color. Made from dried hibiscus flowers, this tea boasts a tangy, slightly tart flavor and is often enjoyed hot or cold.
This guide will provide you with a comprehensive, step-by-step process for drying hibiscus flowers at home, so you can enjoy this flavorful tea whenever you desire.
Selecting and Harvesting Hibiscus Flowers
Choosing the Right Flowers
When selecting hibiscus flowers for tea, it’s crucial to use flowers from the Hibiscus sabdariffa plant, also known as Roselle. This species is specifically used for culinary purposes due to its unique flavor profile and health benefits.
Harvesting Fresh Flowers
Harvest hibiscus flowers when they are in full bloom to ensure the best flavor and highest quality. The flowers should have a bright, vivid color and be free from any blemishes, pests, or signs of decay. It’s best to harvest flowers in the morning after the dew has dried, as this helps prevent mold and mildew during the drying process.
Preparing Hibiscus Flowers for Drying
Rinsing and Cleaning
Before drying the flowers, gently rinse them under cool running water to remove dirt or insects. Do not use forceful water pressure or scrub the flowers to avoid damaging the delicate petals. After rinsing, gently shake off the excess water and pat the flowers dry with a clean paper towel.
Removing the Calyx and Seeds
You must remove the calyx and seeds to prepare the flowers for drying. The calyx is the green, fleshy part at the base of the flower, while the seeds are found within the seed pod. Carefully cut or pinch off the calyx and seed pod, ensuring you don’t damage the petals. Discard the calyx and seeds, as they are not used in making tea.
Drying Methods for Hibiscus Flowers
Air Drying
Air drying is the simplest and most cost-effective method for drying hibiscus flowers. To air dry your flowers:
- Spread the prepared flowers in a single layer on a clean, dry surface like a wire rack, a baking sheet lined with parchment paper, or a clean window screen.
- Place the flowers in a well-ventilated area, away from direct sunlight, and maintain a consistent temperature between 70°F and 80°F.
- Flip the flowers daily to ensure even drying, and check for any signs of mold or mildew.
- The drying process typically takes 7-10 days. Once the flowers are completely dry and brittle, they are ready for storage.
Using a Dehydrator
If you have access to a food dehydrator, this method can expedite the drying process while ensuring even and consistent results. To use a dehydrator:
- Arrange the prepared flowers in a single layer on the dehydrator trays, ensuring they do not touch or overlap.
- Set the dehydrator to a low temperature, around 95°F to 105°F, and let the flowers dry for 4-8 hours. Check on the flowers periodically to ensure they are not becoming too dry or brittle.
- Once the flowers are completely dry and crisp, they are ready for storage.
Drying Hibiscus Flowers in the Microwave
While not as common as air drying or using a dehydrator, the microwave can also be used to dry hibiscus flowers more quickly. Keep in mind that this method may result in a slightly different texture and flavor compared to other drying methods.
Here’s a step-by-step guide on how to dry hibiscus flowers using a microwave:
- Prepare the flowers: Follow the instructions for rinsing, cleaning, and removing the calyx and seeds from the hibiscus flowers as mentioned earlier in this article.
- Arrange the flowers: Place a sheet of microwave-safe parchment paper or a microwave-safe plate in the microwave. Spread the prepared hibiscus flowers in a single layer on the parchment paper or plate, ensuring that they do not overlap or touch each other.
- Set the microwave: Use a low power setting (10-30% power) to prevent the flowers from overheating or cooking. The goal is to dry them gently and evenly.
- Start drying: Microwave the hibiscus flowers for 30 seconds, then check their progress. Continue microwaving them in 30-second intervals, checking and gently turning the flowers each time to ensure even drying. Be cautious as the flowers may become hot; use tongs or a fork to turn them if necessary.
- Monitor the progress: Depending on the size and moisture content of the flowers, drying in the microwave may take anywhere from 2 to 5 minutes. Keep a close eye on them to prevent burning or over-drying.
- Cooling and checking: Once the flowers appear dry and crisp, remove them from the microwave and let them cool for a few minutes. Gently squeeze one of the flowers between your fingers to check if it’s thoroughly dried. It should be brittle and easily crumble. If it’s still flexible or moist, return it to the microwave for additional 15-30 second intervals until fully dried.
Remember, microwaving hibiscus flowers can be a faster drying method, but it requires careful monitoring to avoid overheating or burning the delicate petals.
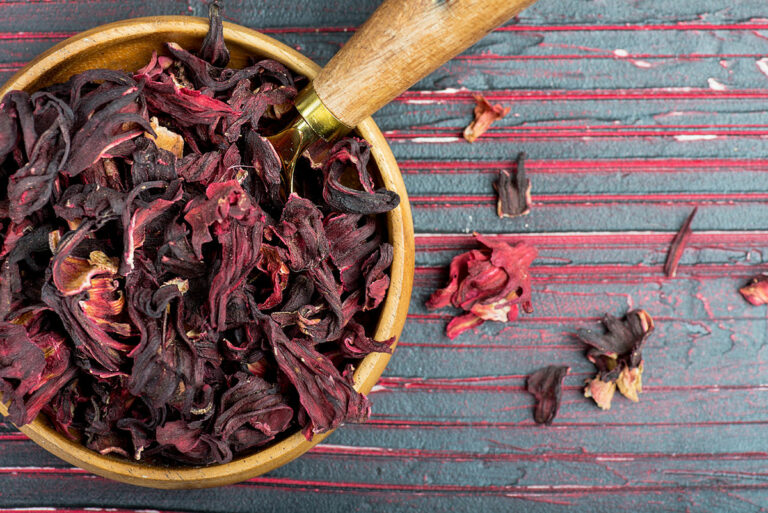
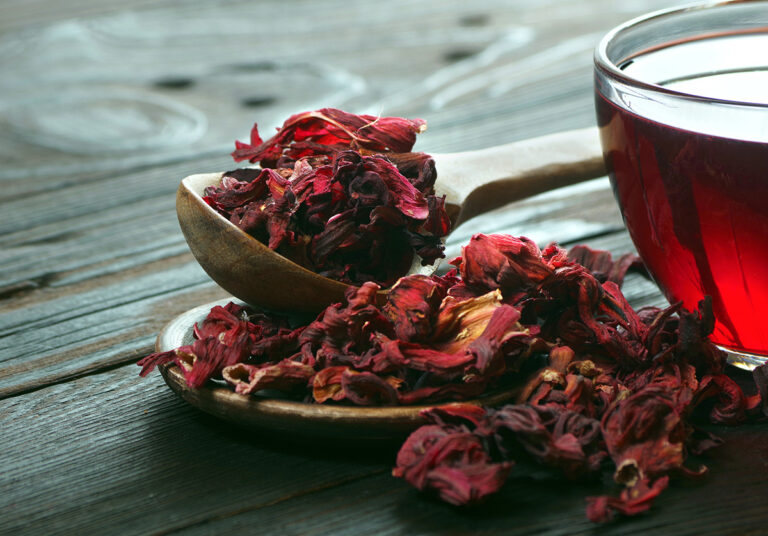
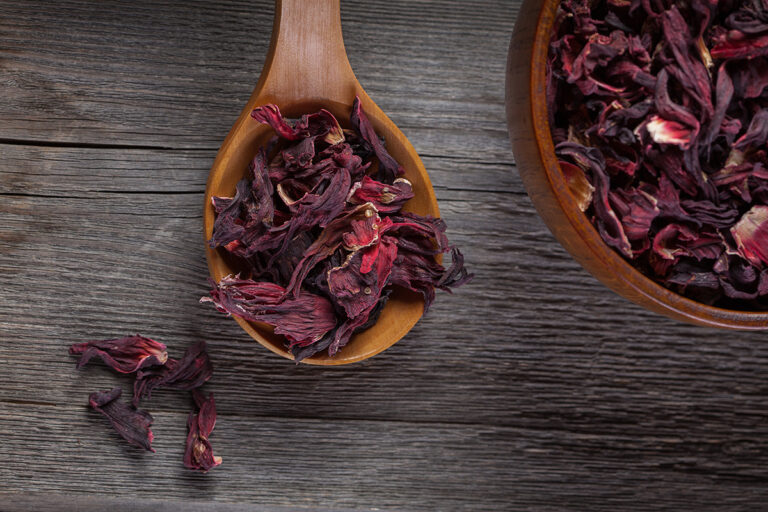
Storing Dried Hibiscus Flowers
Proper storage is essential for maintaining the flavor and freshness of your dried hibiscus flowers. Store them in airtight containers, such as glass jars or resealable plastic bags, and keep them in a cool, dark, and dry place like a pantry or cabinet. Avoid exposing the dried flowers to heat, light, or moisture, as these factors can diminish their quality and shelf life.
Label your containers with the date of drying to keep track of their age. Properly stored dried hibiscus flowers can last up to two years, but they are best used within one year for optimal flavor and quality.
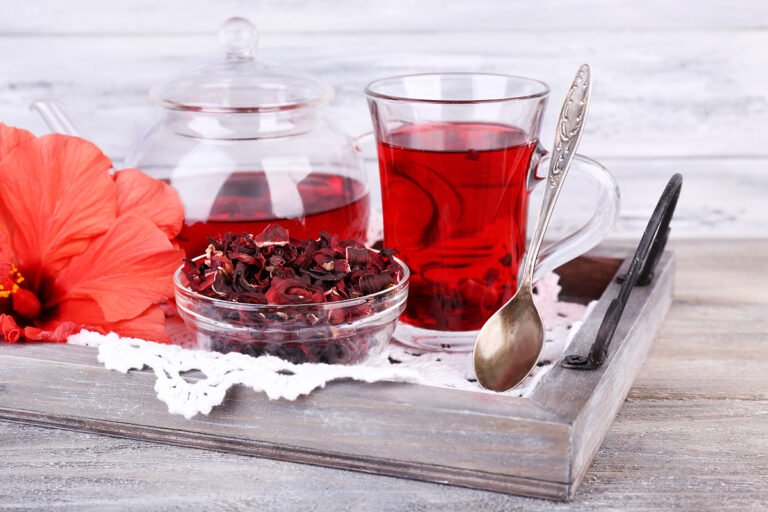
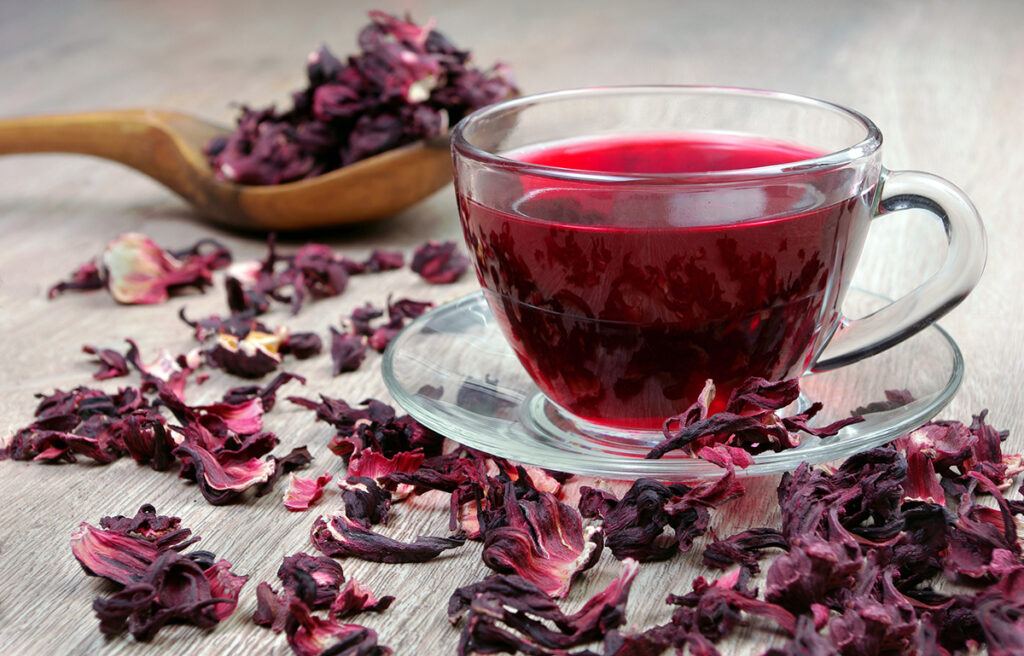
Making Hibiscus Tea
Now that you have successfully dried your hibiscus flowers, it’s time to enjoy a delicious cup of hibiscus tea. Follow this simple recipe to make the perfect hibiscus tea:
Ingredients
- 2 cups of water
- 2 tablespoons of dried hibiscus flowers
- Sweetener of choice (honey, sugar, or stevia), optional
Instructions
- Bring the water to a boil in a small pot.
- Add the dried hibiscus flowers to the boiling water and reduce the heat to a simmer.
- Simmer the mixture for about 5 minutes, then remove from heat and let it steep for an additional 10-15 minutes.
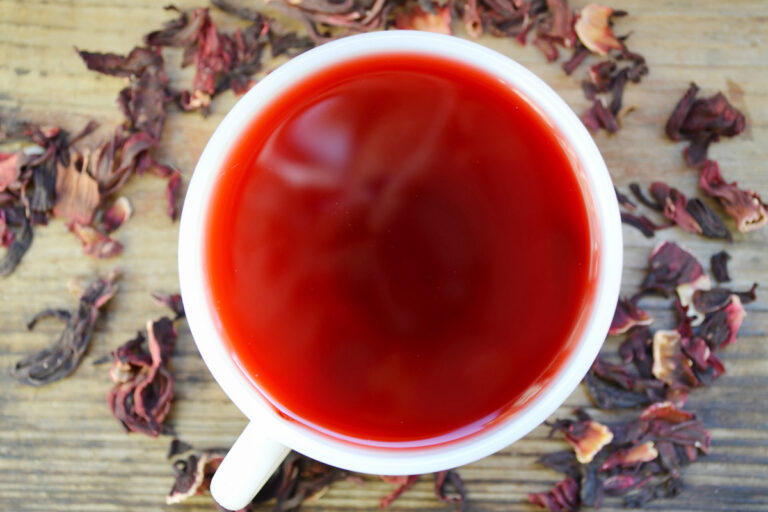
- Strain the tea into a cup or teapot, discarding the used flowers.
- If desired, sweeten the tea with your preferred sweetener. You can also add a splash of lemon or lime juice to enhance the tartness.
- Enjoy your hibiscus tea hot or chill it in the refrigerator for a refreshing iced tea.
Conclusion
Drying hibiscus flowers at home is a simple and rewarding process that allows you to enjoy the delightful flavor and numerous health benefits of hibiscus tea. By following this guide, you’ll be able to preserve the freshness and vibrancy of your hibiscus flowers, creating a delicious and nutritious beverage to enjoy all year round.
If, at some point, you decide that drying hibiscus for tea yourself isn’t for you, these are the best store-bought options.